
Cycling Your First Neocaridina Shrimp Tank: A Complete Beginner's Guide
Starting your first shrimp tank is exciting, but there's one crucial step you absolutely cannot skip: cycling your aquarium. I've seen too many new shrimp keepers lose their entire colony because they rushed this process. Trust me, the few weeks you spend cycling your tank properly will save you heartbreak and money down the road.
What Is Tank Cycling (And Why Your Shrimp's Life Depends On It)
Think of cycling as building an invisible cleanup crew in your aquarium. When your shrimp eat, leftover food and poop decomposes and it creates ammonia—which is basically poison to aquatic life. During the cycling process, beneficial bacteria establish themselves in your filter, substrate, and surfaces. These bacteria convert that deadly ammonia into nitrite (still toxic), then into nitrate (much safer in small amounts).
Without this bacterial colony working 24/7, even a small amount of waste can create an ammonia spike that will stress or kill your shrimp. Neocaridina shrimp might be hardy compared to other species, but they're still sensitive to poor water quality.
Setting Up Your Tank for Success
Before you even think about adding bacteria or starting the cycle, you need to get your tank properly set up. For even more detailed setup tips, you might want to read these best practices for setting up a shrimp aquarium.
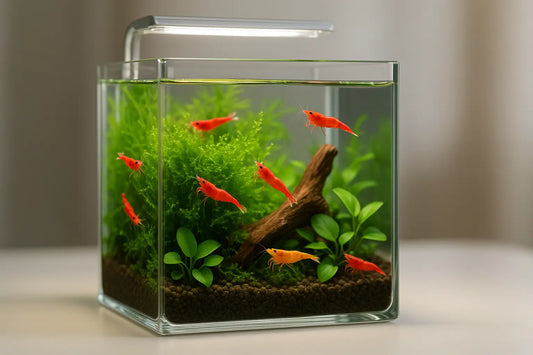
Tank Size Matters For new shrimp keepers, I always recommend starting with at least a 10-gallon tank, though 20 gallons is even better. Smaller tanks are harder to keep stable, and stability is everything with shrimp.
Essential Equipment
-
A sponge filter like this one (there are other options, but most need some mods, sponge filters are so easy)
-
A reliable heater if your room temperature fluctuates (if you keep your house between 68 and 72 degrees you should be fine)
-
Basic LED lighting—nothing fancy needed
-
A thermometer you can actually read
For a complete list of everything you'll need, check out this guide on essential aquarium supplies for shrimp keepers.
Creating the Right Environment Add your substrate first—I prefer gravel or sand for Neocaridina and specialized buffering shrimp substrates for Caridina. Then add decorations like driftwood, rocks, or cholla wood. These aren't just for looks; they provide surface area for beneficial bacteria to grow. Make sure rocks and decorations are inert and won’t leach minerals into the water.
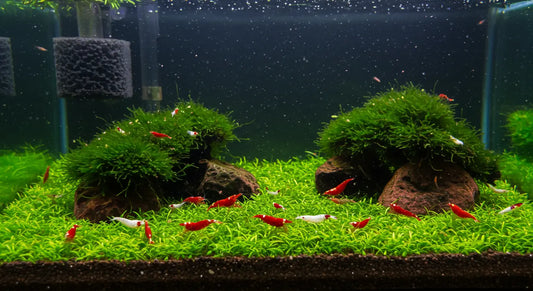
Live plants are fantastic if you're comfortable with them. They help absorb excess nutrients and give your tank a more natural feel. Java moss, anubias, and Java fern are all great beginner options.
Fill your tank with dechlorinated water. If you're using tap water, treat it with a good water conditioner. If your water is very soft or hard, you might need to remineralize it, but that's a topic for another day.
The Cycling Process: Week by Week
Week 1: Getting Things Started
Now for the actual cycling. You need to introduce an ammonia source to feed the bacteria that will eventually grow. I prefer the "ghost feeding" method—simply add a pinch of fish food or shrimp food every few days. It'll decompose and create ammonia naturally. You don’t need a lot for this to be successful.
Some people use pure ammonia drops, which works faster, but I find food more foolproof for beginners. Plus, the decomposing food creates biofilm, which your shrimp will love later. If you want to learn more about what and how to feed your shrimp once they're established, here's a comprehensive shrimp feeding guide.
Run your filter 24/7 from day one. Those beneficial bacteria need constant water flow and oxygen to thrive.
Week 2-3: The Waiting Game
This is where patience is key. You'll start seeing your ammonia levels rise as the food decomposes. Don't panic—this is exactly what you want. After waiting 2 weeks, do a 50% water change and test your water every few days with a liquid test kit (strip tests aren't accurate enough for this).
You might notice the water getting a bit cloudy. This is normal and will clear up as the bacteria establish themselves. You might also see some white film developing on surfaces—that's biofilm, and it's actually a good sign.
Week 3-4: The Bacterial Boom
Around week three, you should start seeing nitrites appear in your tests. This means the first group of bacteria (ammonia-eaters) are doing their job! The second group (nitrite-eaters) will start growing now.
During this phase, both ammonia and nitrite might be present. Don't add anything to your tank yet—both of these compounds are toxic to shrimp.
Week 4-6: Almost There
The nitrite levels will start dropping as the second bacterial colony establishes itself. You'll see nitrates beginning to appear. When both ammonia and nitrite read zero and you have some nitrate present, congratulations—your tank is cycled! To be extra sure, do a 50% water change, add a small pinch of food and measure after 24 hours.
Speeding Things Up (If You're Impatient)
I get it—six weeks feels like forever when you're excited about getting shrimp. Here are a few ways to speed things up safely:
Borrow Some Bacteria If you know someone with a healthy, established aquarium, ask for a piece of their filter media or some substrate. This "seeds" your tank with established bacteria colonies. Just make sure their tank is healthy and disease-free.
Bottled Bacteria Products like Seachem Stability or Fritz Turbo Start can help, though results vary. They won't hurt, and they might shave a week or two off your cycle time.
Add Some Hardy Snails A few pest snails or bladder snails can help produce waste to feed your bacteria. Plus, they'll clean up any uneaten food and help prevent ammonia spikes later.
Final Preparations Before Adding Shrimp
Once your tests show zero ammonia and nitrite with some nitrate present, you're almost ready for shrimp. Do a 50% water change to bring nitrates down below 20 ppm.
Check your other parameters too, for Neocaridina:
-
Temperature: 68-78°F (20-26°C)
-
pH: 6.5-8.0 (7.0-7.5 is ideal)
-
General Hardness (GH): 4-8 dGH
-
Carbonate Hardness (KH): 2-5 dKH
Don't worry if these aren't perfect—Neocaridina shrimp are adaptable. Stability matters more than hitting exact numbers.
Common Mistakes That Kill Shrimp
Rushing the Process This is the big one. I've seen people add shrimp after just a week because "the water looks clear." Clear water doesn't mean cycled water.
Testing With Strips Instead of Liquid Kits Strip tests just aren't accurate enough for cycling. Invest in a good liquid test kit—your shrimp's lives depend on it. Once your experienced and your tank is well established, strips can be fine, but the liquid test is just much more foolproof.
Adding Too Much Food A little food goes a long way. Too much can cause massive ammonia spikes that stall your cycle. After you feed shrimp, remove any food not eaten within 2 hours.
Turning Off Equipment Keep that filter running 24/7. The bacteria need constant water flow and oxygen. Turning off your filter even for a few hours can kill your bacterial colony.
What to Expect After Your Tank Is Cycled
Even after cycling, your tank will continue to mature and develop over the next few months. You might see some algae growth—don't stress about this. A little algae is actually beneficial, giving your shrimp something to graze on.
Your bacterial colony will adjust to your feeding routine over time. If you suddenly increase feeding significantly, you might see small ammonia spikes until the bacteria catch up.
When Things Go Wrong
Sometimes cycles stall or crash. If you're not seeing progress after 6-8 weeks, consider:
-
Adding more ammonia source (another pinch of food)
-
Checking that your dechlorinator isn't killing bacteria
-
Testing your test kit with a known sample
-
Getting filter media from an established tank
Remember, every tank is different. Some cycle in 4 weeks, others take 8. The bacteria will establish themselves when they're ready, not when you want them to.
The Bottom Line
Cycling your shrimp tank isn't the most exciting part of the hobby, but it's absolutely essential. Take your time, test regularly, and trust the process. Your future shrimp colony will thank you for your patience.
Once you see that first baby shrimp swimming around your mature tank, you'll understand why all this waiting was worth it. There's nothing quite like a thriving shrimp colony in a well-established aquarium.
Ready to learn more about caring for your new shrimp once they arrive? Check out this complete Neocaridina shrimp care guide for everything you need to know about keeping them happy and healthy.
Good luck with your tank, and remember—every expert was once a beginner who took the time to do things right!