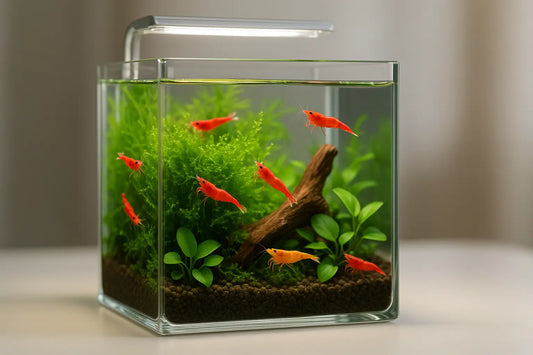
How to drip acclimate caradina and neocaridina shrimp to your aquarium
Receiving a new batch of shrimp is an exciting endeavor, but it's crucial to ensure a smooth transition to their new environment! Drip acclimation is a tried-and-true method for minimizing stress and helping your shrimp adapt comfortably to their new home. We'll walk you through the steps to effectively drip acclimate your new shrimp to increase the survival rate!
Understanding Drip Acclimation: Everything you need know
Drip acclimation is a process that involves slowly introducing your shrimp to the water parameters of your aquarium. This gradual method helps minimize shock from sudden changes in temperature, pH, and other water parameters, which can be detrimental to the health of your shrimp. You do this by putting your shrimp in a container and slowly dripping your aquarium water into the container.
Materials Needed
Before you begin the drip acclimation process, gather the following materials:
- New shrimp in their shipping bag/container
- Clean bucket or container
- Airline tubing
- Airline control valve or adjustable clamp
- Aquarium water testing kit (optional but recommended)
Step-by-Step Drip Acclimation Process
-
Prepare the Drip Line: Put one end of the airline tubing into your aquarium. On the other end of the tubing, control the flow with an airline control valve, adjustable clamp, or an overhand knot.
-
Adjust Drip Rate: Adjust the flow rate of the drip using the control valve or clamp to achieve a slow and steady drip. If you're using a knot, tighten it until the flow slows down. Aim for approximately 1-4 drips per second. The longer the shrimp have been in transit, or the bigger the adjustment, the slower you'll want to drip acclimate.
-
Begin Drip Acclimation: Start the drip by allowing water from the aquarium to slowly drip into the shrimp container. You'll see different people do this for different amounts of time. If your parameters are similar to ours, you can do it for 1-2 hours. If they are much different or there was a long shipping time you can let it take 8 hours (we do it overnight when we're really worried!
-
Complete Acclimation: Once the volume of water in the shrimp container has approximately doubled and the water parameters closely match those of your aquarium, carefully transfer the shrimp from the container to your aquarium using a net. Avoid adding the water from the acclimation container to your aquarium to prevent introducing any potential pathogens or contaminants.
-
Observe and Monitor: After introducing the shrimp to your aquarium, closely observe their behavior for signs of stress or illness. Continue to test water parameters in the aquarium over the next few days to ensure stability.
Conclusion
Drip acclimation is a simple yet effective method for acclimating new shrimp to your aquarium environment. By following these steps and taking your time during the acclimation process, you can help minimize stress and increase the chances of a successful transition for your shrimp. Remember, patience is key, and always prioritize the health and well-being of your aquatic pets. Happy shrimp keeping!